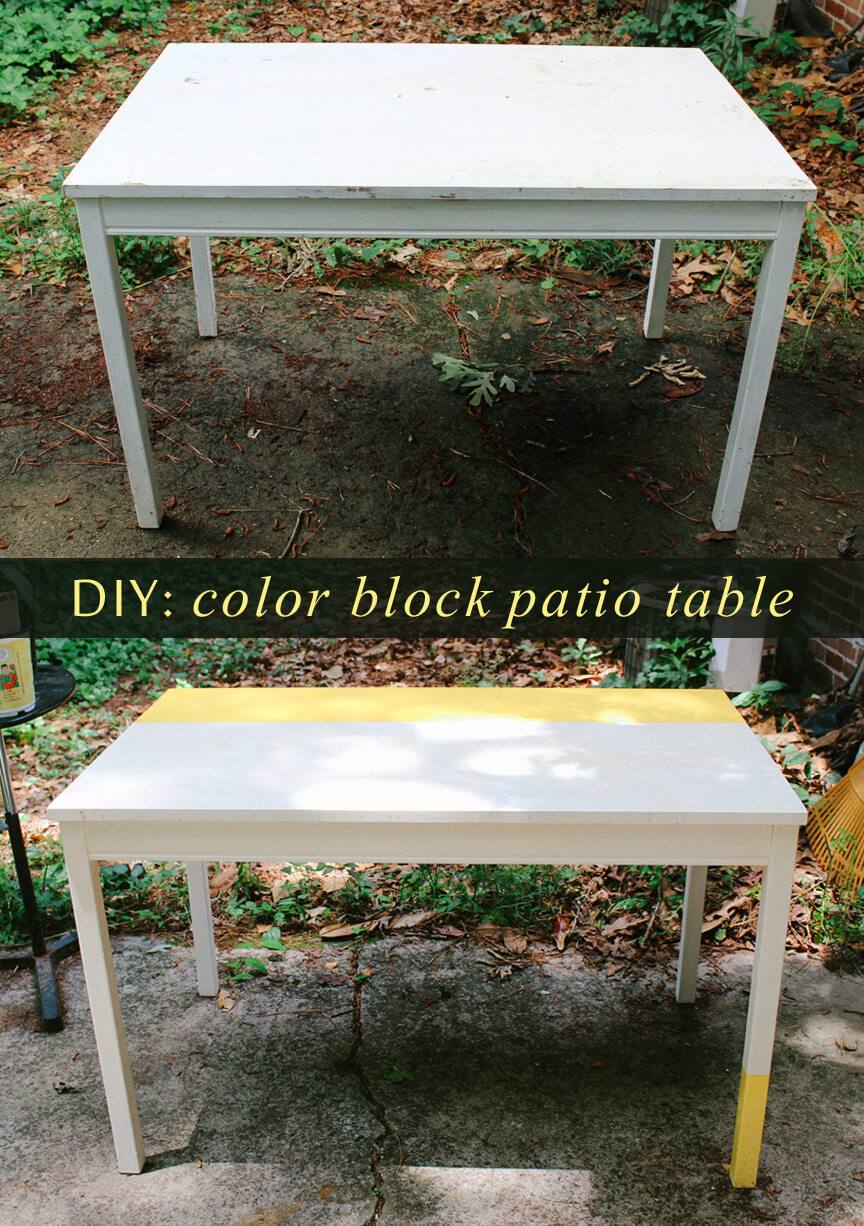
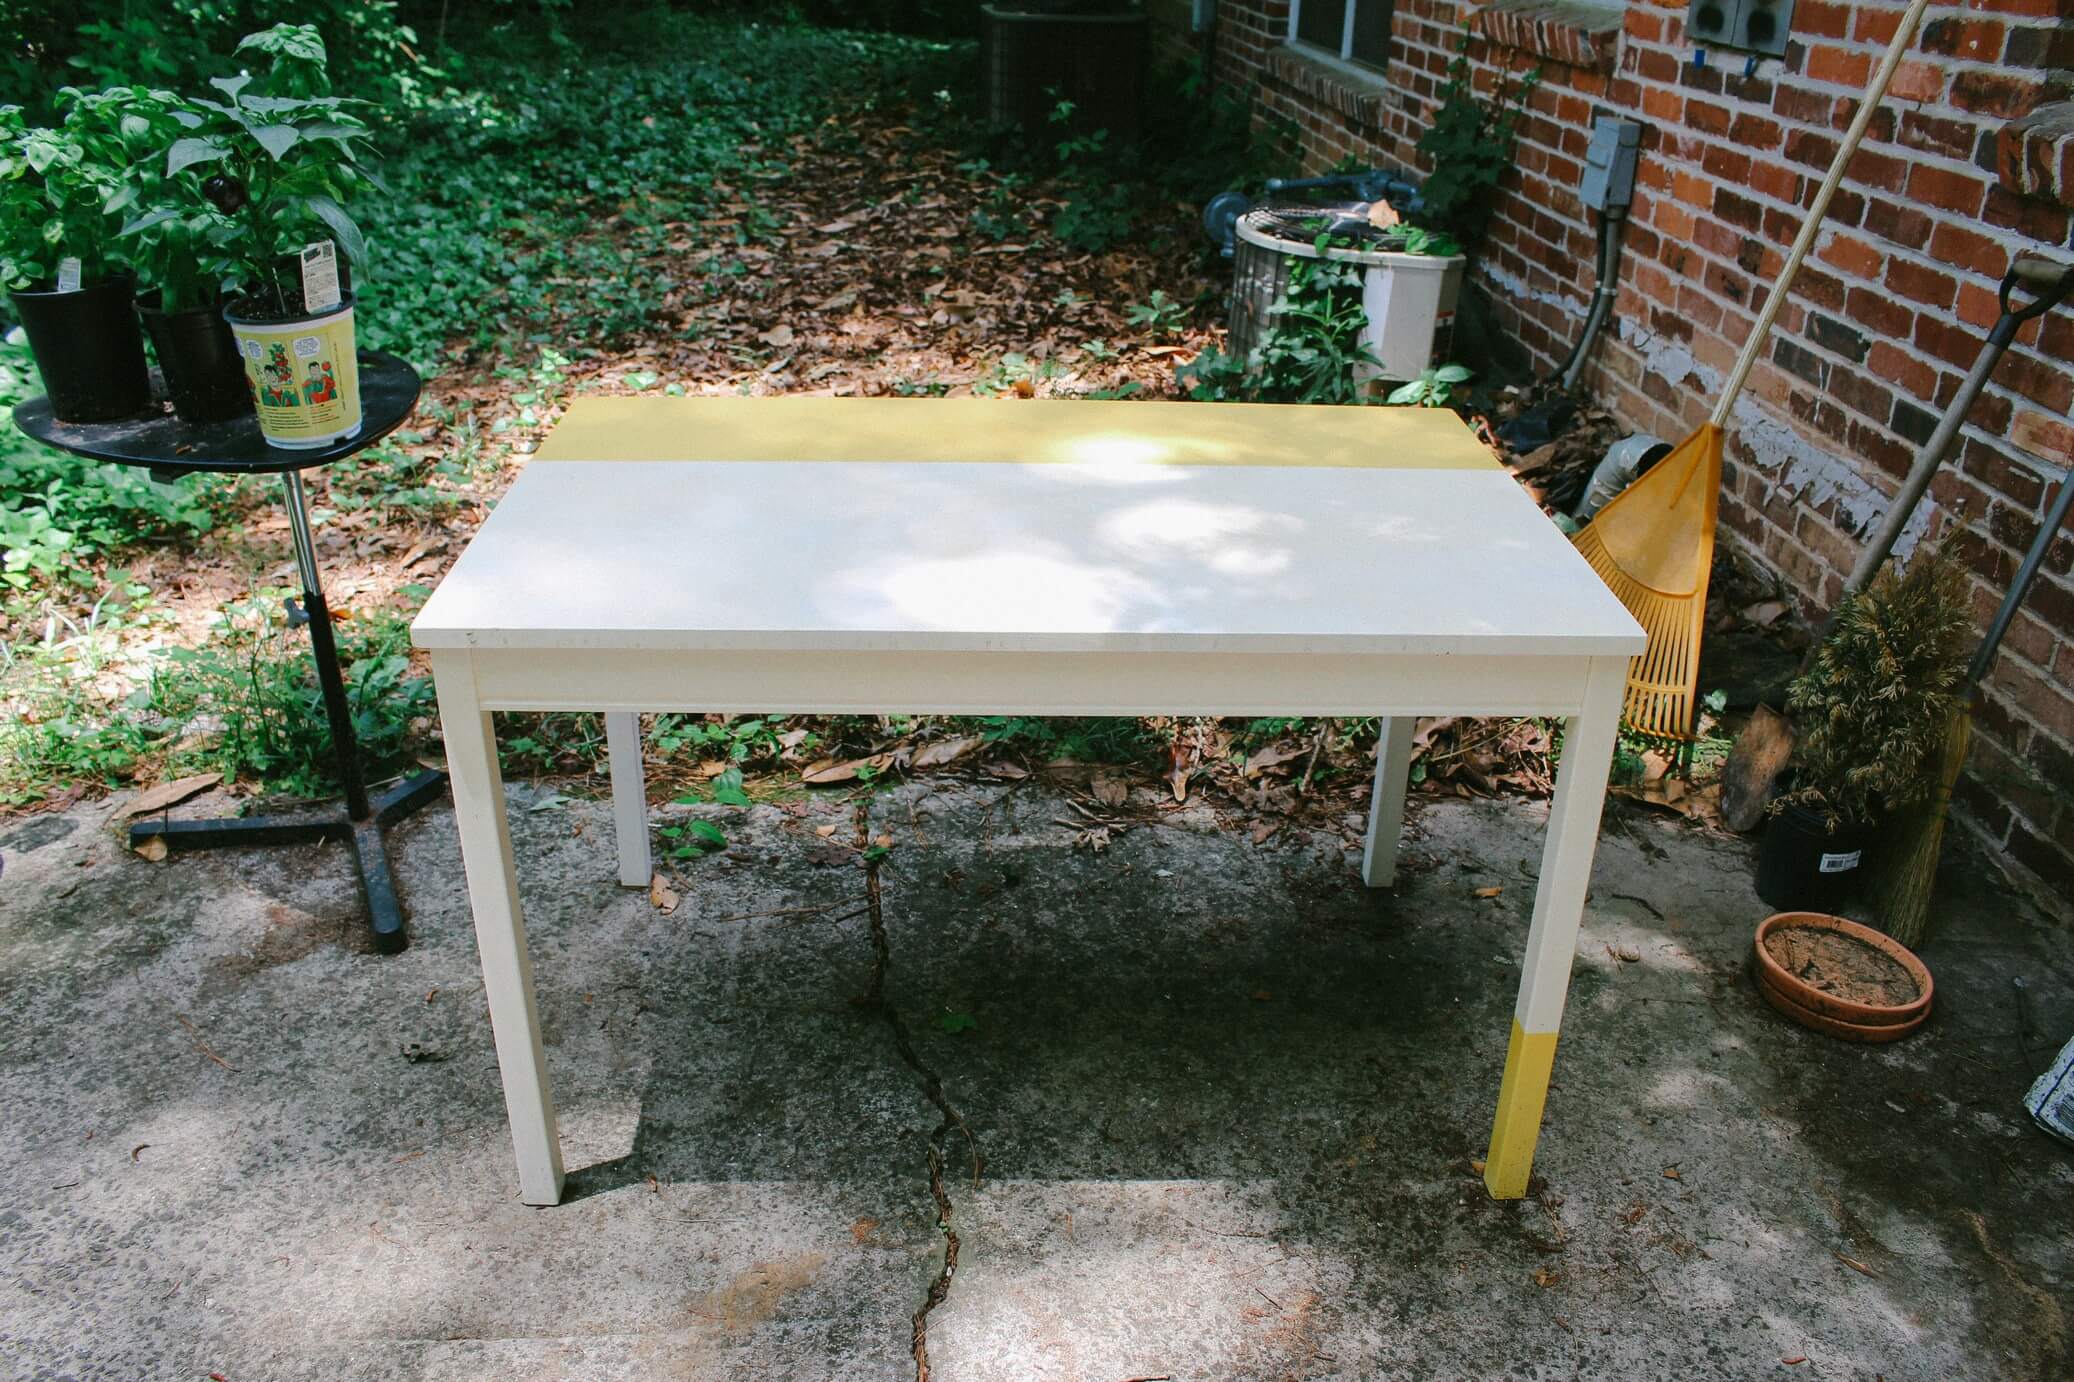
In my quest for patio glory, I picked up a ton of random pieces from a recent neighborhood yard sale event. Though I saved a lot of dough, I’ve been left with the task of transforming them into an eclectic-but-cohesive set, which is no easy feat. First up, I tackle perhaps the most important piece of all: the patio table.
Being so central to both the aesthetic and functionality of our outdoor space, it was important that I plan before I dove in. With some preliminary sketches in hand (with a certain amount of color flexibility), I ran off to Home Depot to purchase some off-tint reduced price paints in addition to some other goodies… (DIY instructions)
MATERIALS:
Newspaper or dropcloth for work area
Rags or towels for cleaning (or an old shirt)
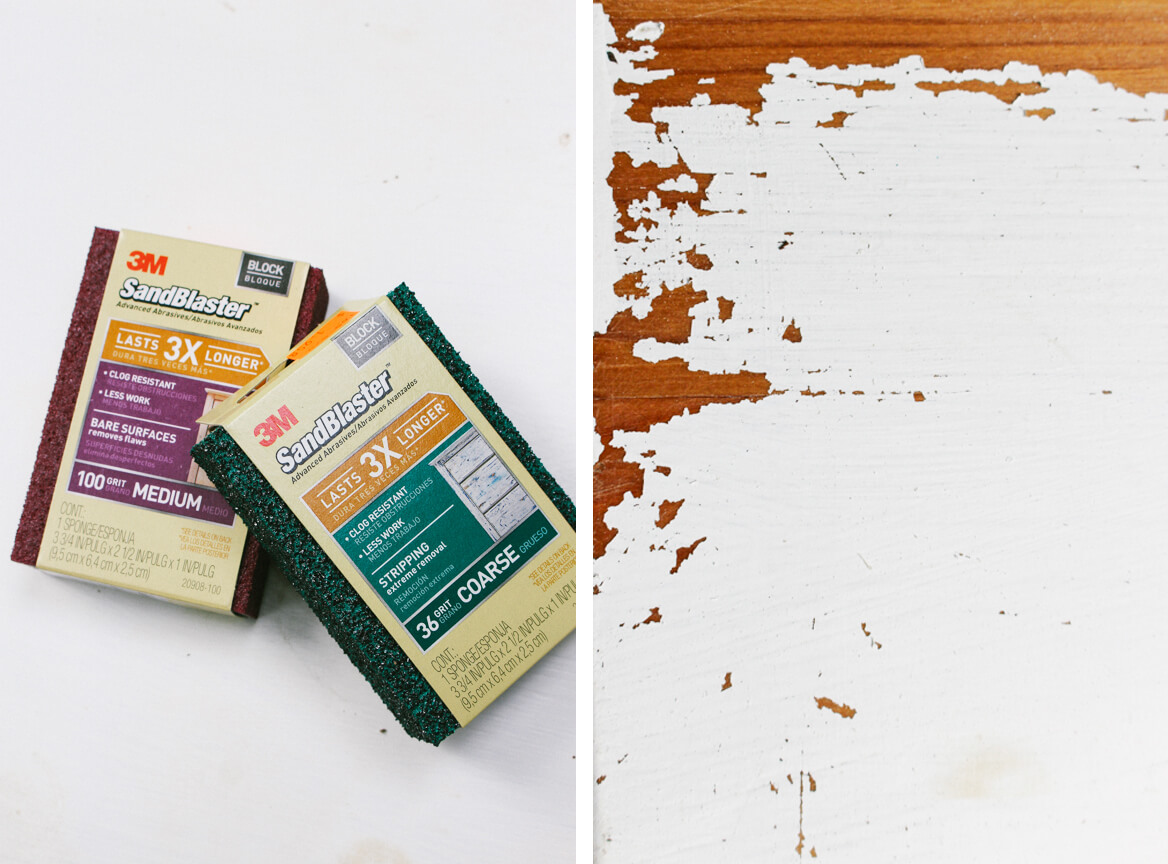
Sandpaper or sandpaper blocks (a variety from coarse to fine)
Spray paint or exterior paint in desired color
Polyeurathane coating
Painter’s tape (optional)
STEP 1 / prep
Choose an outdoor area that is clutter-free and preferably out of the way of falling debris. A sunny-to-partially-cloudy day with no wind is best, so that you don’t have stuff falling into your work space. A garage is really ideal, but I had to settle for my back patio. If you MUST work indoors, open every single window, turn on a fan, and invest in a mask.
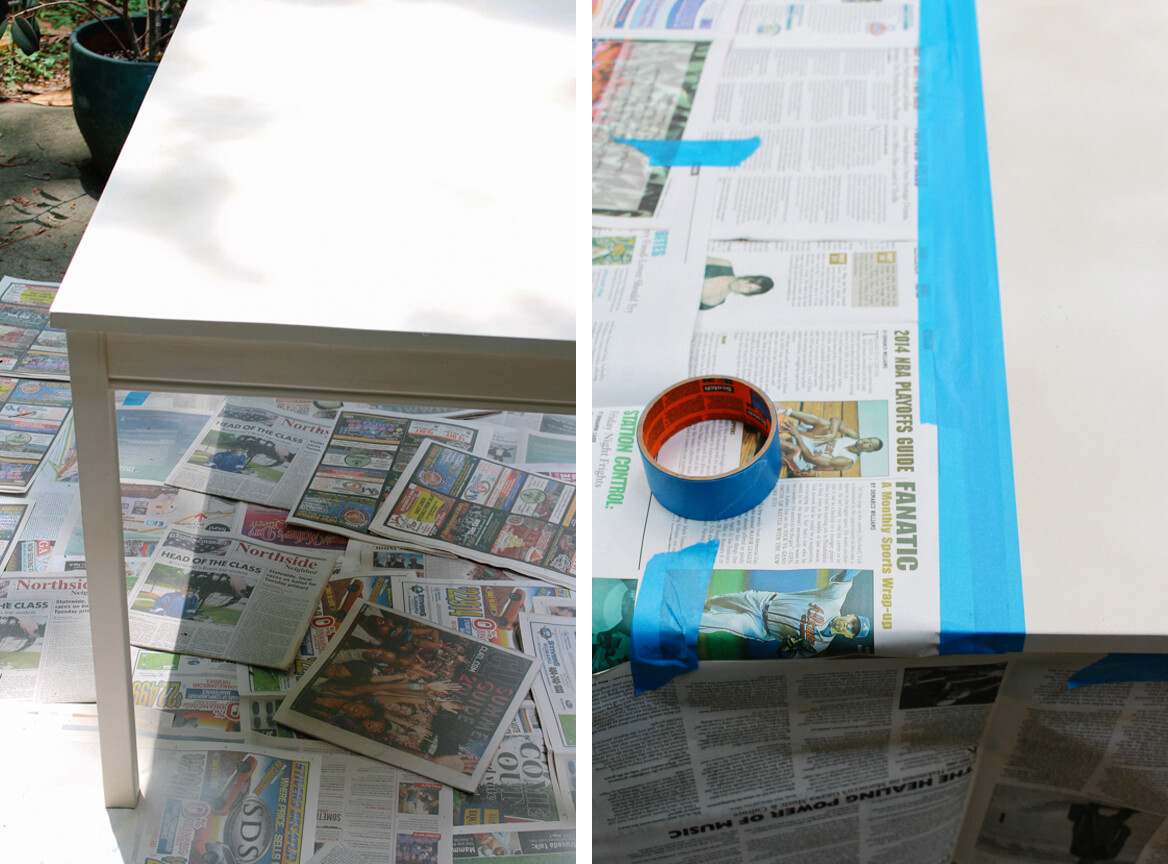
Cover any surrounding surfaces using newspaper, dropcloths, whatever you need to do in order to make sure it doesn’t get unwanted paint on it. Spray paint (and normal paint) tend to go straight to places you don’t want them to be. Next, clean your surface! Use an all-purpose cleaner and just get off whatever you can with a rag so that you are starting good and fresh.
STEP 2 / sand
Starting with your coarsest sandpaper, sand every part the surface you intend to paint. This is a great time to use a mask, but I live dangerously and just try to breathe in the opposite direction. You’ll wanna really put your back into it, get into all those nooks and crannies! After you’ve sanded it all, wipe it down with a rag just to get the excess dust off. Move on to a finer grain; go from coarse to fine sandpaper for the smoothest results. When you’re all done, wipe down your surface again with a rag and cleaner to get all of the dust off.
STEP 3 / spray
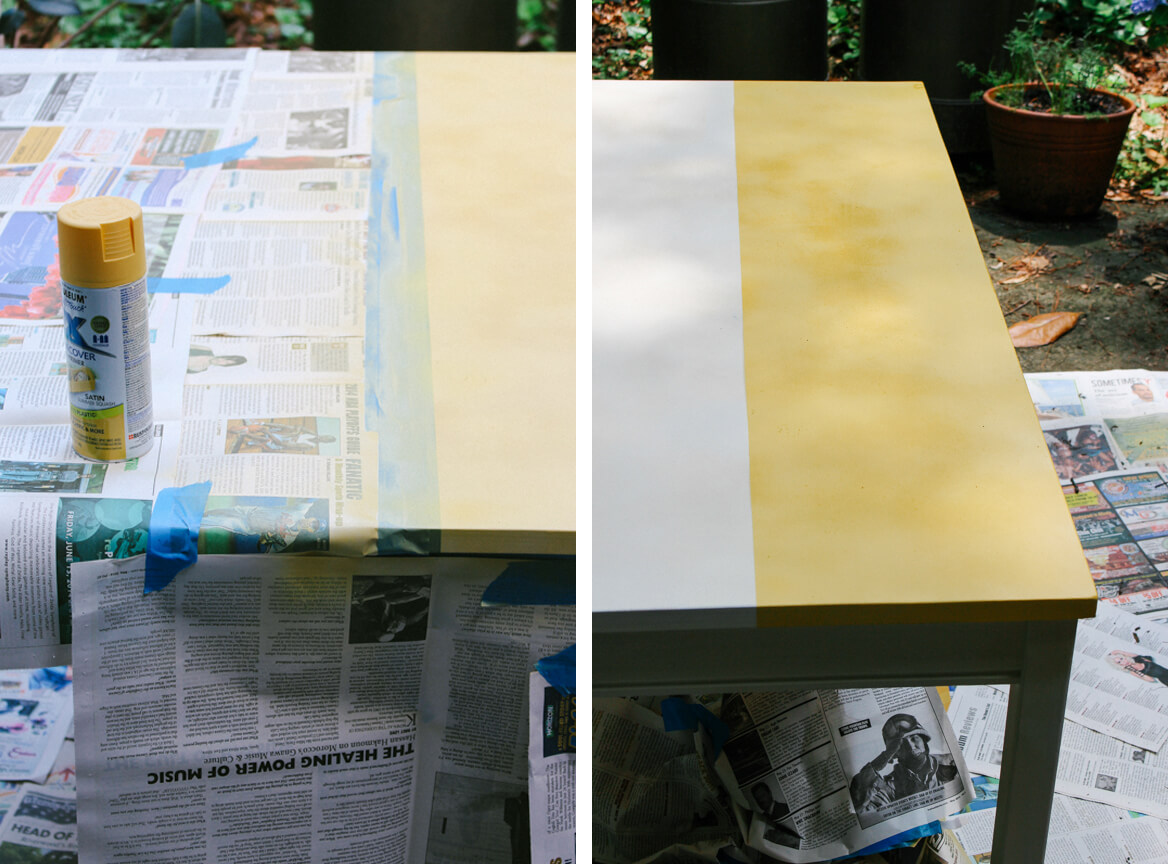
When applying color, it’s always a good idea to have a strategy. For my own table, I knew I was going to use two colors so I began with building a natural white base coat. Spray paint is best done in light layers with some dry time between each layer so this might take you a while. The important thing here is to have patience. Seeing drips or pools of spray paint is bad. That means too much paint for sure. Stick with light and even coats. Eventually you will build up enough coats to have an opaque layer true to the color of the paint.
If you are just doing a solid color, then move on to the next step!
For a color-blocked look, you will need painter’s tape and newspaper to block out the areas for color. If you’re a perfectionist, you’ll need a level or ruler to make sure your lines are straight. Me, I eye-balled it. It is only patio furniture after all!
Plan ahead and make sure you know where your color blocking is going; think about the edges, the sides, and the legs. Keep it simple and straight-forward for yourself by doing only one color block at a time. I did one block on the surface and then one block on one of the legs. Apply the color blocks in the same way as your solid base; light layers with dry time in-between. Once it’s not tacky, you can go ahead and pull the tape and newspaper off.
STEP 4 / dry
So I made this a separate step just to emphasize that you have to be patient and allow your paint to dry in-between layers and after your last coat. Keep an eye on your piece to be sure there isn’t any debris getting onto the wet paint; if it does, just wipe off gently. As long as your layers are thin, this won’t affect the overall result since you’ll be layering over it anyways.
STEP 5 / protect
I opted for a spray version of polyurethane, for ease of use and uniformity with my color application. I chose to do this step pretty soon after I did my color blocking (day 1 base coat, day 2 color blocking and protection). Apply polyurethane in the same way as your paint; light layers with the instructed amount of dry time in-between. This will give you the best results for a strong coat to protect against the elements. Once you’ve done a few coats, it will take a full day or two for everything to be fully weather-proof. So if you suspect some rain coming in, be sure to move it inside! If not, rest easy.
DONE!
Thanks for hanging in there with me for my very first DIY blog post! It really wasn’t that much work when you think about it; the most intensive part is really the sanding, but you can spread out the steps a bit more if you don’t have the time. Either way, it’s totally worth it to have a pretty patio table for under $30. Hopefully there will be some more projects to come in the near future, since this patio is quite the project. Stay tuned!


